Friday, January 21, 2011
Thursday, January 20, 2011
Universal Grinding Fixture
Awhile back Mcgyver posted an excellent writeup of his build of a Universal Grinding Fixture on the HSM forum:
I wanted a universal fixture for the T&C grinder, capable of holding drill bits and lathe tool bits so that I could easily to facetted drill sharpening, acme or V thread bits etc. I had fun taking pics through the build and thought you guys might enjoy them
The assembly was fabricated using my stick welder
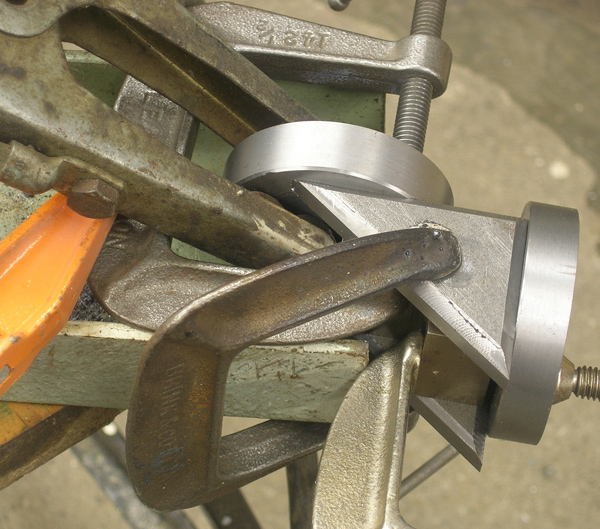
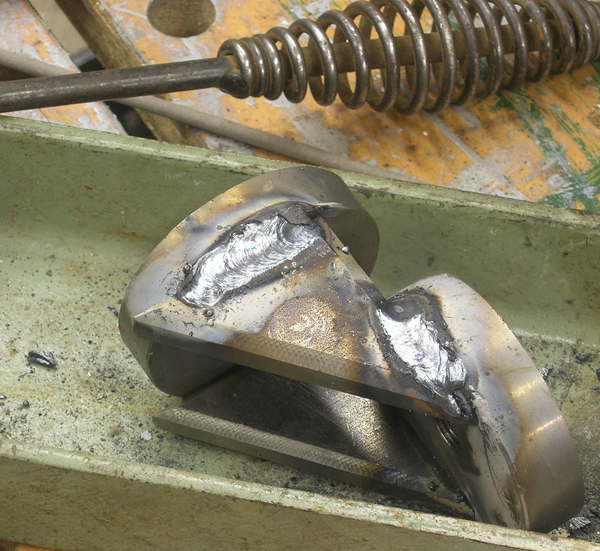
Here's an overview of the unit after welding
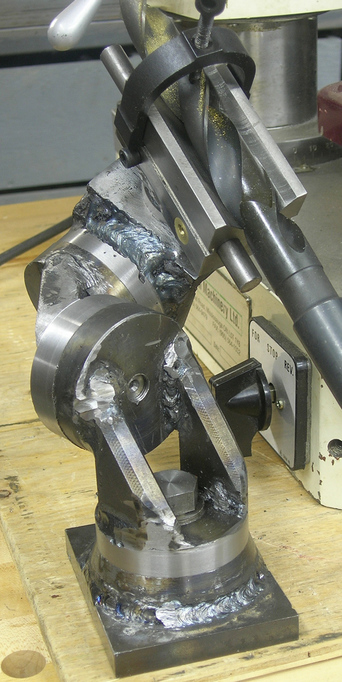
I sent everything out to be normalized and had the drill V-block case hardened at the same time. Well worth the $30 to know its going to be reasonably stable
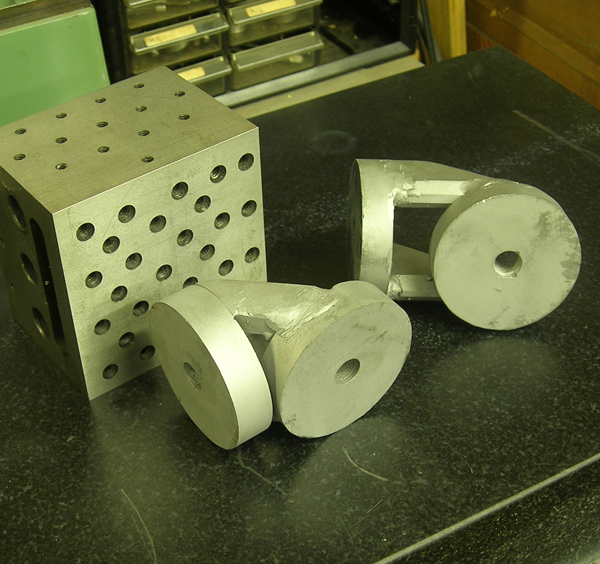
For accurate work, you need a reference surface. I decided to scrap in one side of the elbows so there would be no distortion from clamping. Started with the power scraper
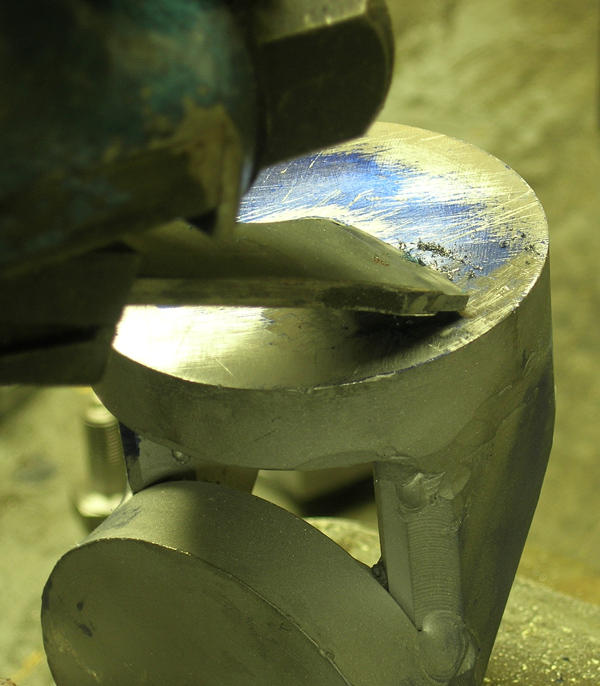
and finished with a hand scraper. Almost complete blue-out - good enough for the girls I know!
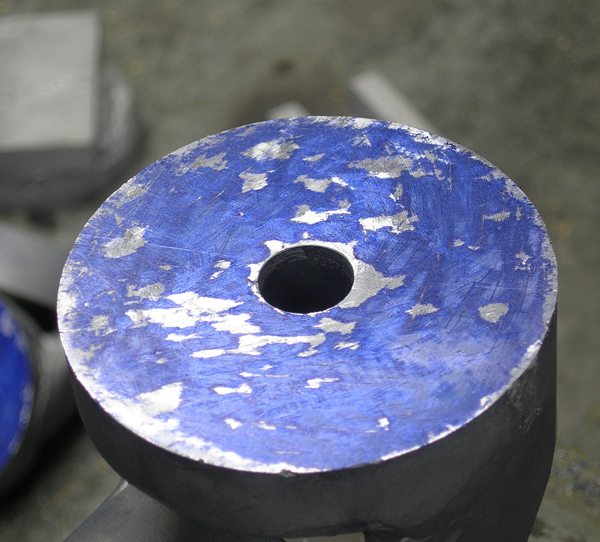
I bolted each elbow to a tool makers block (made by yours truly, hardened and ground square to 1/10 thou all over and done as a matched pair).
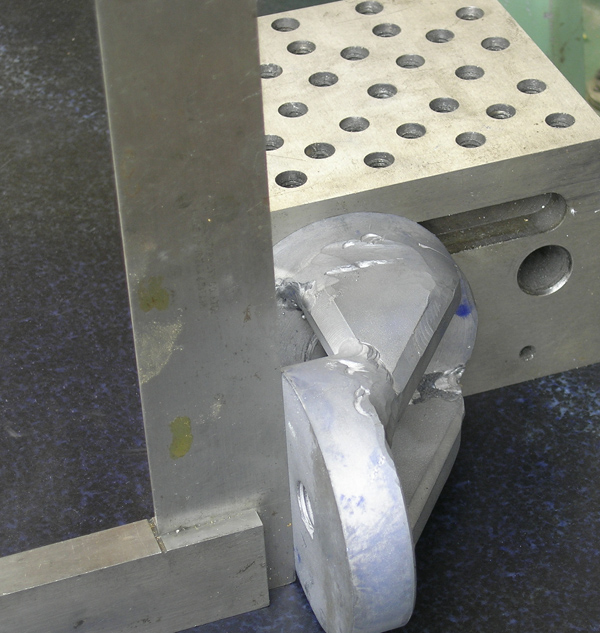
The elbows are now all squared up.

I then made an arbor for the lathe to clean up the circumference.

Here's an elbow, square and ready for divisions
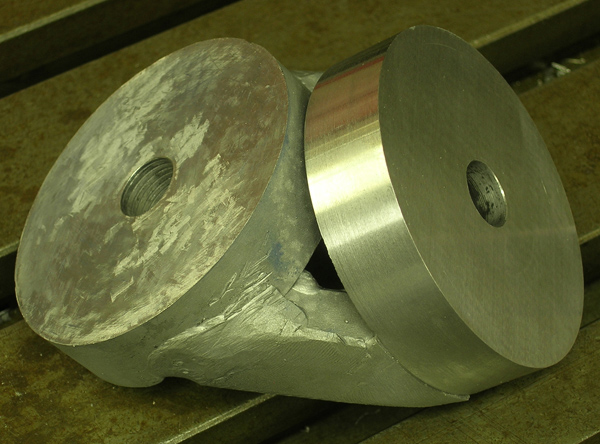
I graduated each axis in degrees - TEDIUM! Gotta get the 4 axis cnc built!
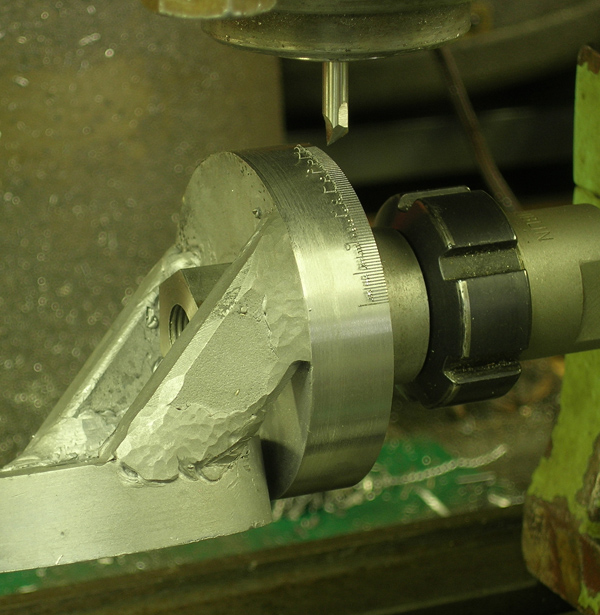
With one disk graduated, the other needs a witness mark. Here I'm using an indicator to get the disk's face parallel to the machine's axis before make a witness mark on the base
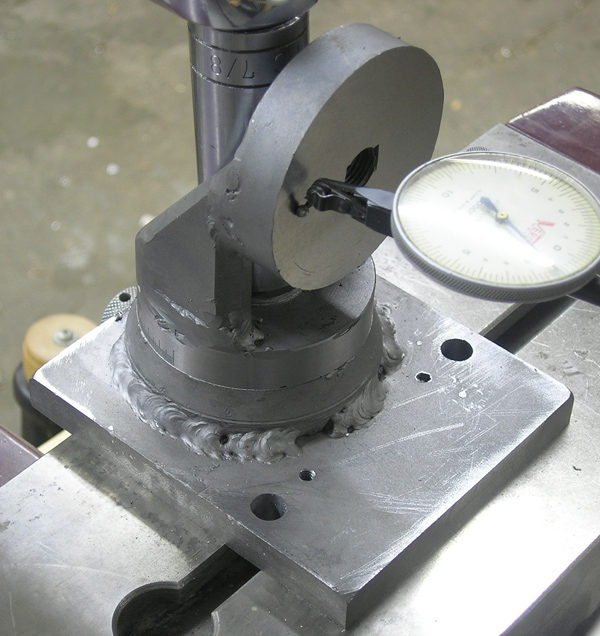
Graduating all done!
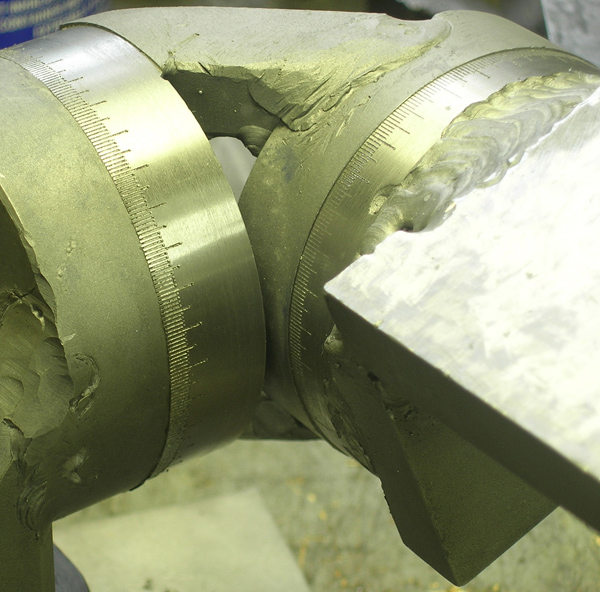
Here's progress to date, I mainly included this shot to show the tool bit holder attachment.
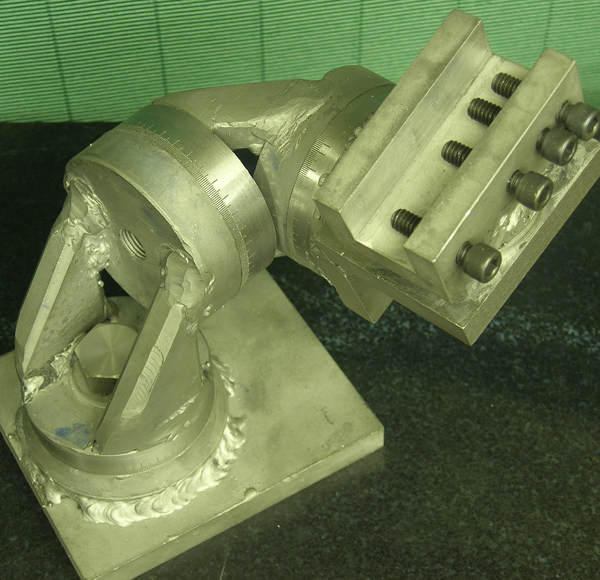
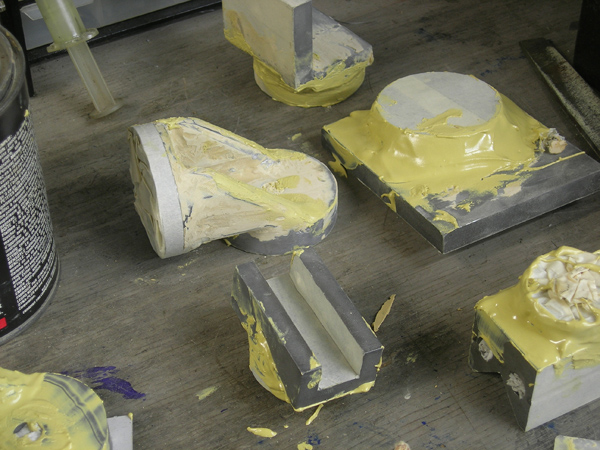
Now things get messy. I used auto body filler, spot putty and a couple of coats of cellulose primer with sanding in between
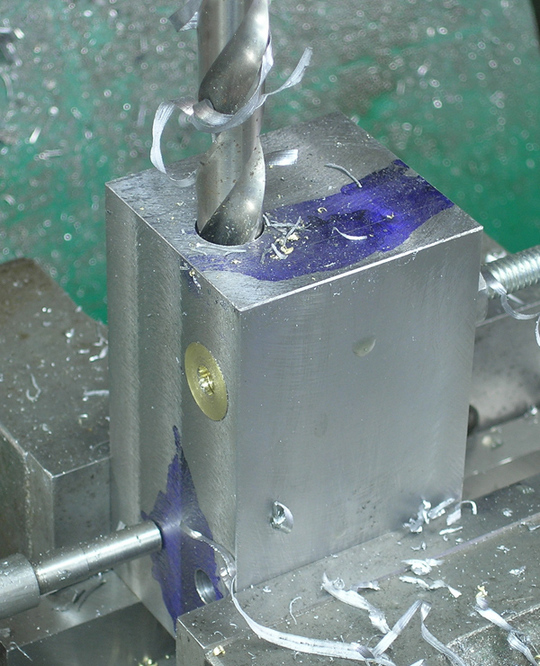
This is chronologically a bit out of order - machining on the V-block was done prior to case hardening. Here am drilling the two longitudinal holes, one for the tooth rest gizmo and the other for rest at the end of the drill. The two bars the make up these mechanisms are held via cotters - you can see the brass cotter the intersects the hole and the 1/4" ready rod holding it in place
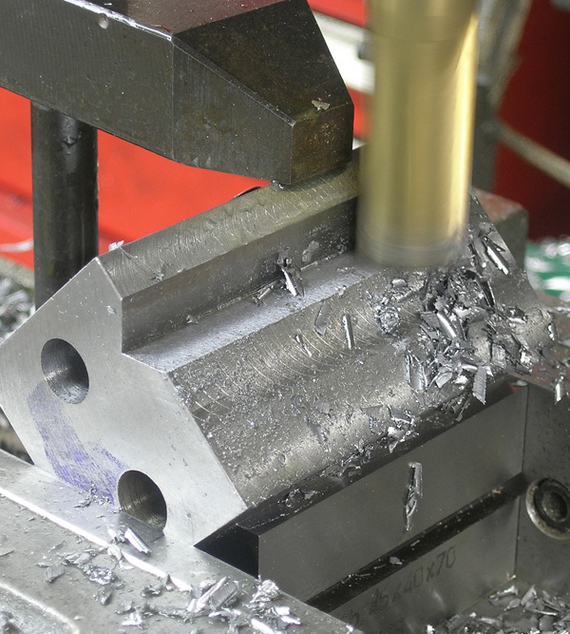
Here the V is being cut.
Here's the drill stop - an adjustable gizmo that the end of the drill rests against. There are a couple of different attachments for this - ie a long thin adjusting screw for very small dia drills and different lengths of the long rod. It will hold drills from 1/16 to 1" or more

I made this "third hand" rig and posted pics of it here awhile ago, and a few wanted to see it in use - here you go. It's a real time saver, otherwise to do this job properly you'd be pinning or such the pieces together. The work piece is the {rest missing}
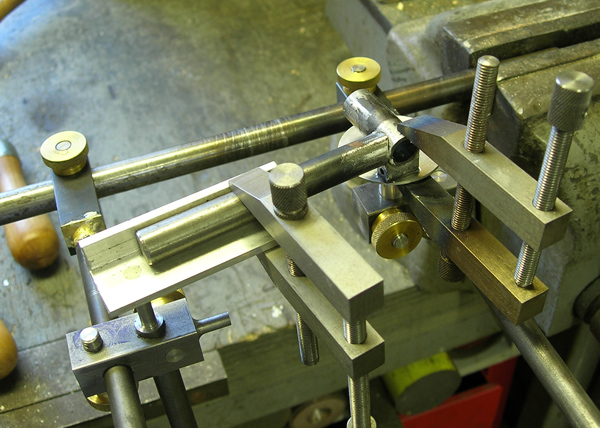
I get the best silver solder results by placing small pieces of solder in the flux and then just warming everything up
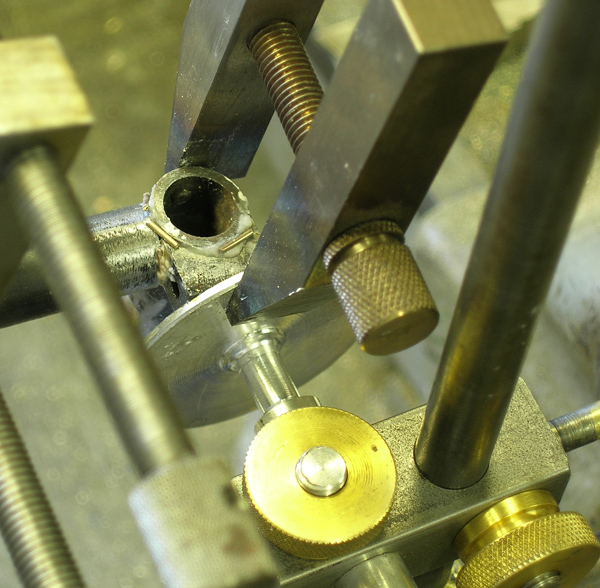
Here's the tooth rest body after pickling and slitting
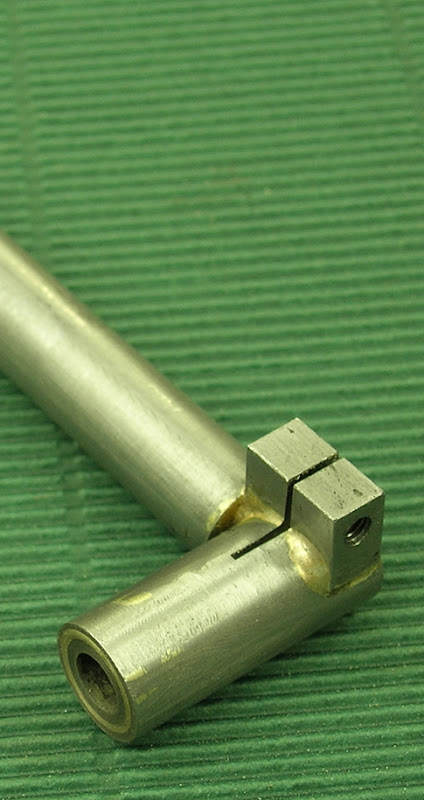
The tooth rest is almost done. There will be a micrometer feed on the end, I still have to make the screw and end piece. The idea is that between its built in adjustments and the convenience of the cotter holding it in the V block, its quickly adjustable to any position and then the micrometer adjustment can bring the tooth rest do the final position

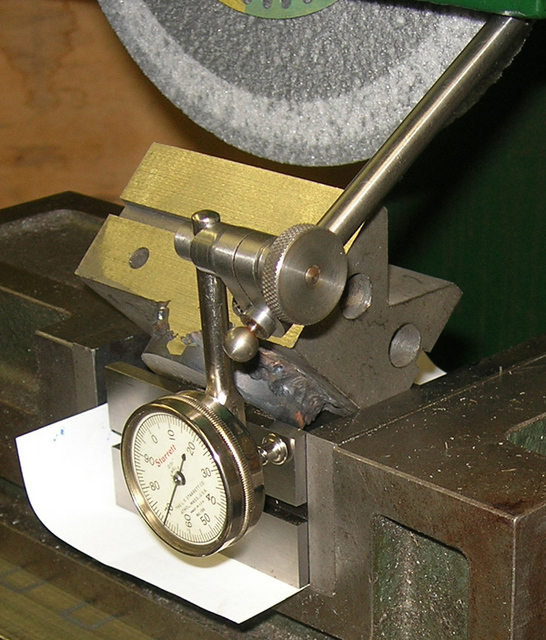
The V block is being set up for grinding. It was ground all over after case hardening and an oil quench.
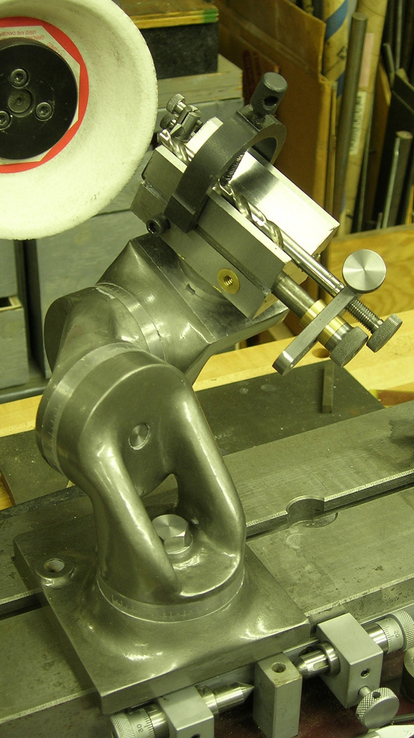
Here's the completed unit. I used the Tremclad hammer finish paint - I don't think I'd recommend it and probably won't use it again but don't have energy right now to refinish.
More Comments:
Graduations were done with the work held in a dividing head and a sharp V with some positive rake ground on a round hss blank held in a collet in the mill. The mill has a friction brake, I locked this on (with duct tape, handy mans secret weapon) and cut each line by moving mill table, cut was about 5 thou deep, 5 & tens marks received longer lines. I've not yet stamped the numbers, will probably use the pillar tool with some sort of rig, but haven't thought that out yet.
It's all mild steel except for the obvious brass pieces. A lot of the photos do look like AL, that's because after normalizing the heat treater kindly ran them through his sandblaster.
In an update, Mcgvyer posted the following:
For those of you not sick of my grinding pics, here's a follow up and some shots of it in use
First off, I redesigned the micrometer tooth rest - it needed more of an offset and longer range. Here it is ready to go - 5 separate silver solder joints on this assembly
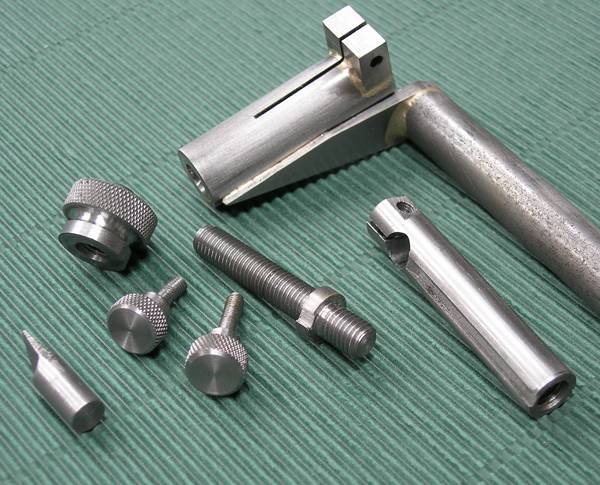
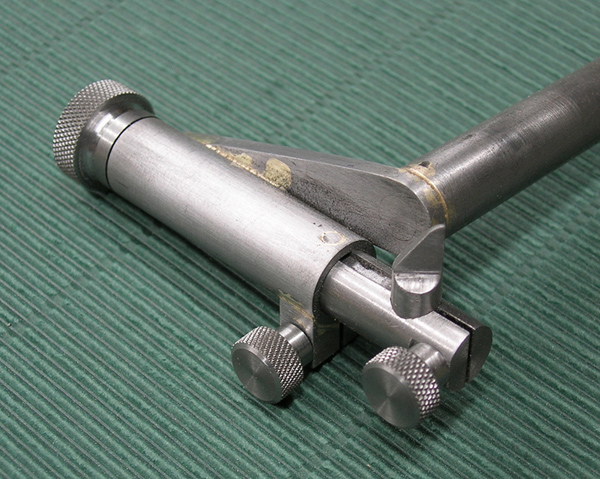
The V block is case hardened and ground all over, also finished the cotters so both the drill stop and tooth rest is very easy to adjust.
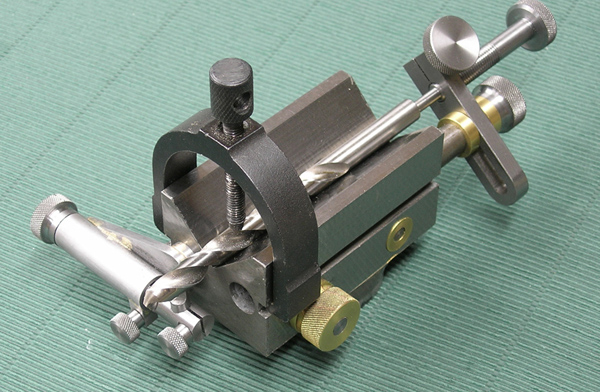
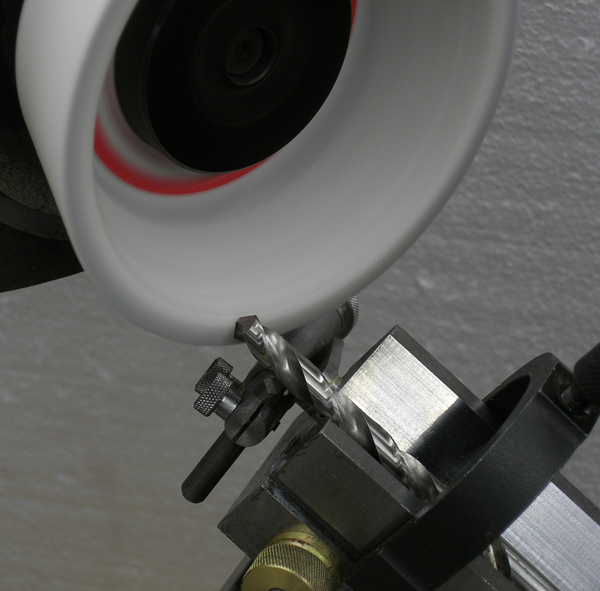
The angles are set on the graduated dials on the universal swivel, I was doing a 118 point with two clearance facets, one at 15 and one at 30 degrees. The drill is placed in the v block and the stop and tooth rest adjusted then tightened down. I generally index the drill and do both cuts on one facet then change the angle of the base to do the second facet or bevel. Over the past couple of week ends I made a mobile stand for bench top T&C - I found it really hard to set up (ie tooth rest) if I couldn't get access all around the machine to view the set up.
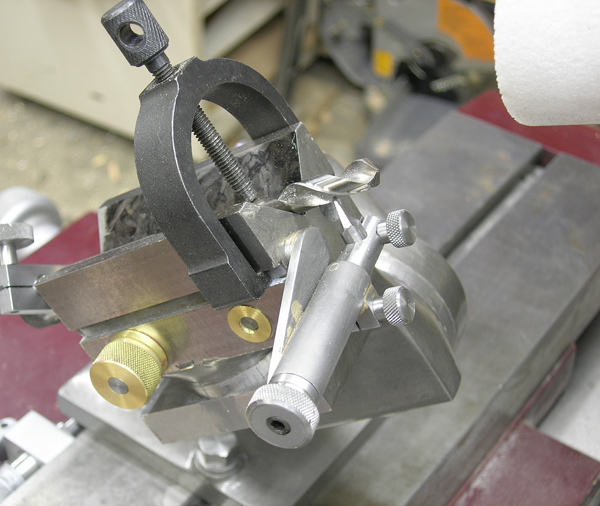
Grinding grinding grinding
By making different lengths of rod for the drill stop, the rig can hand almost any size drill

The final result. Yeah, I can sharpen a drill by hand but it will take me a lifetime of Sundays to get so that they are as nice as this. Since they are virtually perfectly symmetrical, the cut very accurately. The one I tried and measured was within a thou, give the limits of small hole gauges.
A Post by Rahul KP
I wanted a universal fixture for the T&C grinder, capable of holding drill bits and lathe tool bits so that I could easily to facetted drill sharpening, acme or V thread bits etc. I had fun taking pics through the build and thought you guys might enjoy them
The assembly was fabricated using my stick welder


Here's an overview of the unit after welding

I sent everything out to be normalized and had the drill V-block case hardened at the same time. Well worth the $30 to know its going to be reasonably stable

For accurate work, you need a reference surface. I decided to scrap in one side of the elbows so there would be no distortion from clamping. Started with the power scraper

and finished with a hand scraper. Almost complete blue-out - good enough for the girls I know!

I bolted each elbow to a tool makers block (made by yours truly, hardened and ground square to 1/10 thou all over and done as a matched pair).

The elbows are now all squared up.

I then made an arbor for the lathe to clean up the circumference.

Here's an elbow, square and ready for divisions

I graduated each axis in degrees - TEDIUM! Gotta get the 4 axis cnc built!

With one disk graduated, the other needs a witness mark. Here I'm using an indicator to get the disk's face parallel to the machine's axis before make a witness mark on the base

Graduating all done!

Here's progress to date, I mainly included this shot to show the tool bit holder attachment.

Now things get messy. I used auto body filler, spot putty and a couple of coats of cellulose primer with sanding in between

This is chronologically a bit out of order - machining on the V-block was done prior to case hardening. Here am drilling the two longitudinal holes, one for the tooth rest gizmo and the other for rest at the end of the drill. The two bars the make up these mechanisms are held via cotters - you can see the brass cotter the intersects the hole and the 1/4" ready rod holding it in place

Here the V is being cut.

Here's the drill stop - an adjustable gizmo that the end of the drill rests against. There are a couple of different attachments for this - ie a long thin adjusting screw for very small dia drills and different lengths of the long rod. It will hold drills from 1/16 to 1" or more

I made this "third hand" rig and posted pics of it here awhile ago, and a few wanted to see it in use - here you go. It's a real time saver, otherwise to do this job properly you'd be pinning or such the pieces together. The work piece is the {rest missing}

I get the best silver solder results by placing small pieces of solder in the flux and then just warming everything up

Here's the tooth rest body after pickling and slitting

The tooth rest is almost done. There will be a micrometer feed on the end, I still have to make the screw and end piece. The idea is that between its built in adjustments and the convenience of the cotter holding it in the V block, its quickly adjustable to any position and then the micrometer adjustment can bring the tooth rest do the final position

The V block is being set up for grinding. It was ground all over after case hardening and an oil quench.

Here's the completed unit. I used the Tremclad hammer finish paint - I don't think I'd recommend it and probably won't use it again but don't have energy right now to refinish.

More Comments:
Graduations were done with the work held in a dividing head and a sharp V with some positive rake ground on a round hss blank held in a collet in the mill. The mill has a friction brake, I locked this on (with duct tape, handy mans secret weapon) and cut each line by moving mill table, cut was about 5 thou deep, 5 & tens marks received longer lines. I've not yet stamped the numbers, will probably use the pillar tool with some sort of rig, but haven't thought that out yet.
It's all mild steel except for the obvious brass pieces. A lot of the photos do look like AL, that's because after normalizing the heat treater kindly ran them through his sandblaster.
In an update, Mcgvyer posted the following:
For those of you not sick of my grinding pics, here's a follow up and some shots of it in use
First off, I redesigned the micrometer tooth rest - it needed more of an offset and longer range. Here it is ready to go - 5 separate silver solder joints on this assembly


The V block is case hardened and ground all over, also finished the cotters so both the drill stop and tooth rest is very easy to adjust.

The angles are set on the graduated dials on the universal swivel, I was doing a 118 point with two clearance facets, one at 15 and one at 30 degrees. The drill is placed in the v block and the stop and tooth rest adjusted then tightened down. I generally index the drill and do both cuts on one facet then change the angle of the base to do the second facet or bevel. Over the past couple of week ends I made a mobile stand for bench top T&C - I found it really hard to set up (ie tooth rest) if I couldn't get access all around the machine to view the set up.

Grinding grinding grinding

By making different lengths of rod for the drill stop, the rig can hand almost any size drill

The final result. Yeah, I can sharpen a drill by hand but it will take me a lifetime of Sundays to get so that they are as nice as this. Since they are virtually perfectly symmetrical, the cut very accurately. The one I tried and measured was within a thou, give the limits of small hole gauges.
A Post by Rahul KP
Wednesday, January 19, 2011
Limit and fit | ISO hole chart | Tolerance
|
| |||||||||||||||||||||||||||||||||||||||||||||||||||||||||||||||||||||||||||||||||||||||||||||||||||||||||||||||||||||||||||||||||||||||||||||||||||||||||||||||||||||||||||||||||||||||||||||||||||||||||||||||||||||||||||||||||||||||||||||||||||||||||||||||||||||||||||||||||||||||||||||||||||||||||||||||||||||||||||||||||||||||||||||||||||||||||||||||||||||||||||||||||||||||||||||||||||||||||||||||||||||||||||||||||||||||||||||||||||||||||||||||||||||||||||||||||||||||||||||||||||||||||||||||||||||||||||||||||||||||||||||||||||||||||||||||||||||||||||||||||||||||||||||||||||||||||||||||||||||||||||||||||||||||||||||||||||||||||||||||||||||||||||||||||||||||||||||||||||||||||||||||||||||||||||||||||||||||||||||||||||||||||||||||||||||||||||||||||||||||||||||||||||||||||||||||||||||||||||||||||||||||||||||||||||||||||||||||||||||||||||||||||||||||||||||||||||||||||||||||||||||||||||||||||||||||||||||||||||||||||||||||||||||||||||||||||||||||||||||||||||||||||||||||||||||||||||||||||||||||
Subscribe to:
Comments (Atom)

